AUTOCAD

AUTOCAD相關大全 (AUTOCAD IN THIS BLOGGER)

必備功能         1.Autocad--工具列不見了,指令找不到,菜單欄消失,都找不到按的地方                             (Missing Menus and ToolBars) 基本功能     設定     ...

搜尋此網誌

2019/4/7

Autocad--模型和配置,將所有圖面都轉成一個PDF檔(Model and Layout, convert all the drawings to PDF in a file in Autocad)

模型與配置就像風景與相機, 可以先在模型裡將所有要呈現的東西都先繪圖進去,之後在用配置將所要呈現的內容及畫面都用配置設定好,就可以輸出一張張的圖紙(照片)。
先用一個簡易的範例說明,假設我想在三張圖紙(照片)分別呈現1 2 3 如下


那麼我們就先在模型裡畫出123,然後在配置分別對不同位置進行拍照(調整畫面的遠近及位置)
然後進行發佈就是將照片洗出來,完成。

MODEL and LAYOUT are just like view and camera. Image all of things you want to show are drawn in the MODEL and then use the LAYOUT to setting the view and content you would like to show. We will get the series of drawings(pictures).
Just take an easy example. I would like to show 1 2 3 in each drawing(picture) as below:


First we write 1 2 3 in MODEL. Second we adjust the position in different LAYOUT(zoom and pan).
Finally PUBLISH is to have those pictures.

在指令列 t -> ENTER

在紅點處 單擊滑鼠 左鍵

移動滑鼠

在紅點處 單擊滑鼠 左鍵


輸入要打的文字 1 -> ENTER

在 1. 處 單擊滑鼠 左鍵
在 2. 處 單擊滑鼠 左鍵
在 3. 處 單擊滑鼠 左鍵

之後就跟剛才的動作一樣
在紅點處 單擊滑鼠 左鍵

在紅點處 單擊滑鼠 左鍵

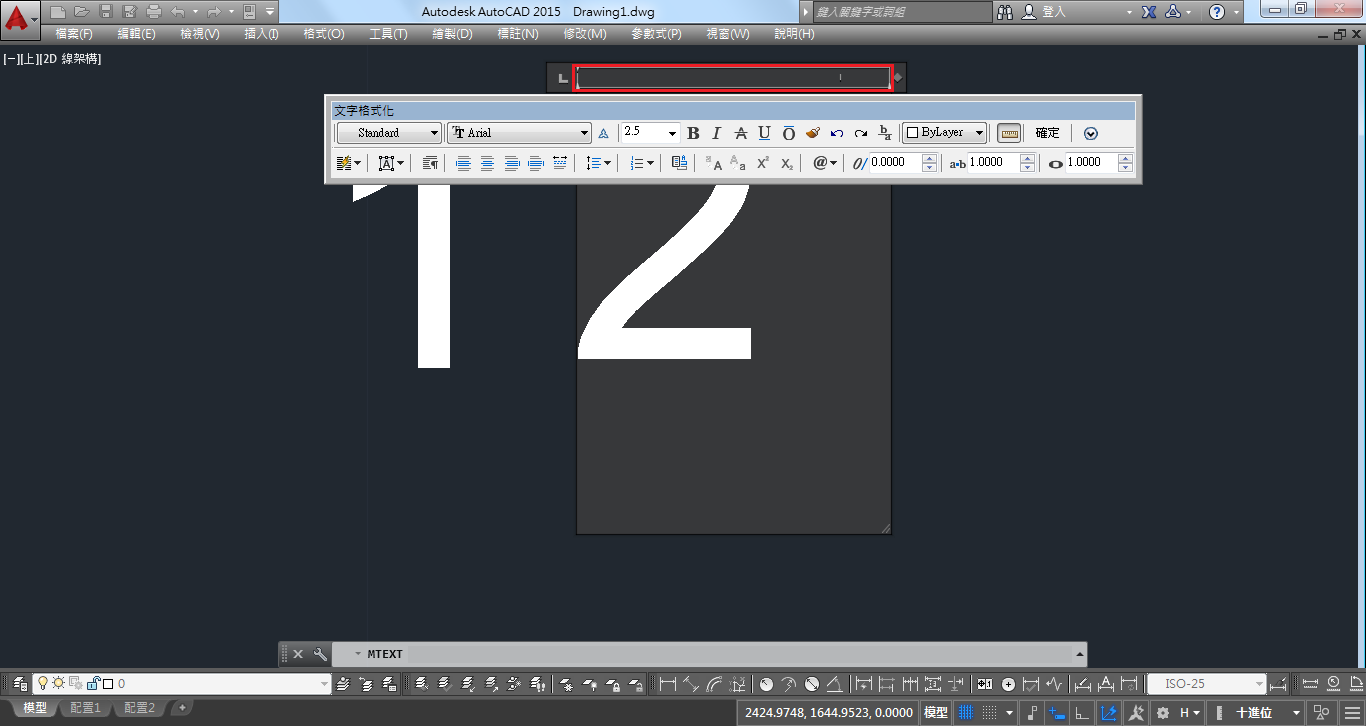
輸入要打的文字 2 -> ENTER

單擊滑鼠 左鍵


輸入要打的文字 3 -> ENTER

此時要畫的內容都已繪入了
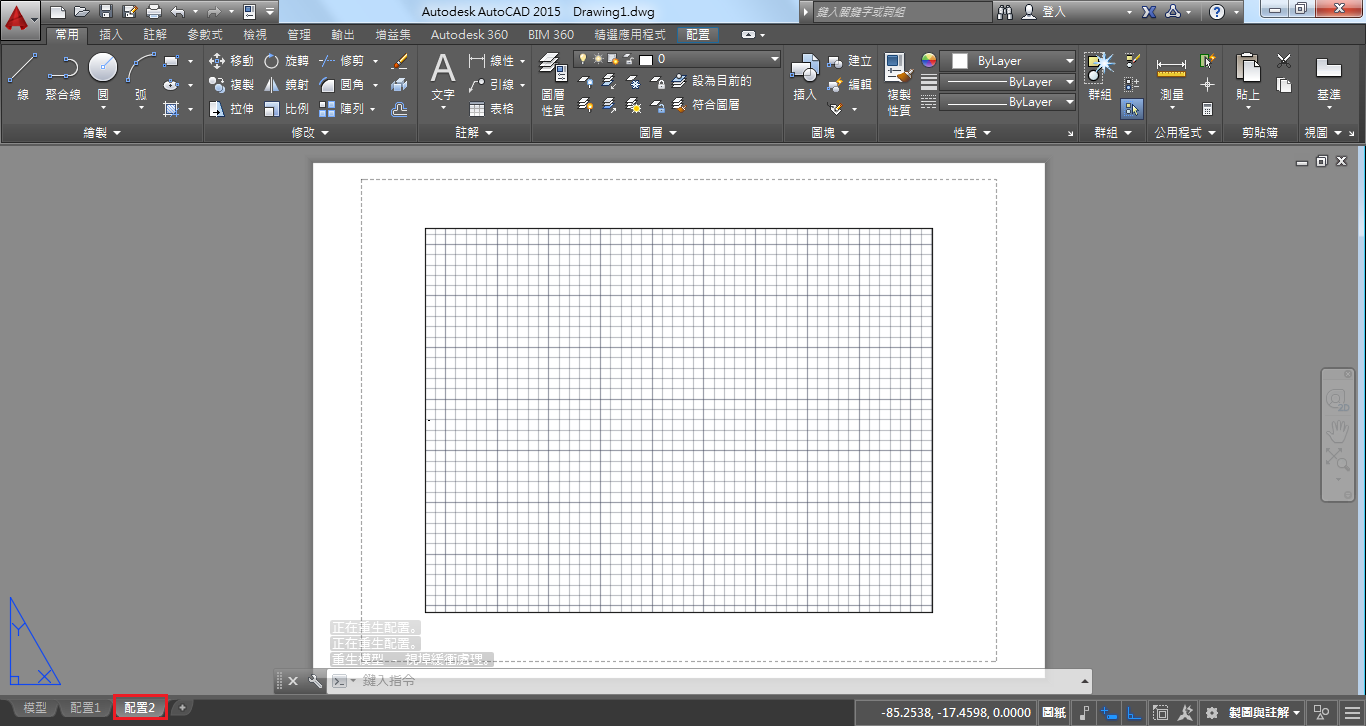
接下來就是要進行"拍照"

單擊滑鼠 左鍵

在紅色框內 雙擊滑鼠 左鍵

用滑鼠滾輪 按住 移動畫面
用滑鼠滾輪 前後滾動 縮放畫面

調整完畫面後
在剛才的 紅色框 外面 雙擊滑鼠 左鍵

單擊滑鼠 右鍵

單擊滑鼠 左鍵

在 1. 處 單擊滑鼠 左鍵
在 2. 處 單擊滑鼠 左鍵

雙擊滑鼠 左鍵

修改成想要的名字後

ENTER

重複剛才 利用 滑鼠滾輪 按住及前後滾動 移動畫面

 
在 1. 處 單擊滑鼠 左鍵
在 2. 處 單擊滑鼠 左鍵

單擊滑鼠 右鍵

移除 -> 單擊滑鼠 左鍵

單擊滑鼠 左鍵

選擇要輸出的格式 PDF

發佈 -> 單擊滑鼠 左鍵

在 1. 處 單擊滑鼠 左鍵
選擇要儲存的位置後
在 2. 處 單擊滑鼠 左鍵

單擊滑鼠 左鍵

單擊滑鼠 左鍵

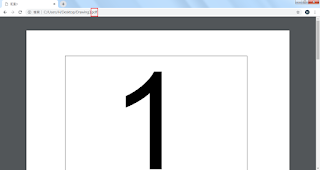
之後到剛才儲存的檔案位置後開啟就完成!!如下


2018/11/16

Autocad--鏡射功能,想要有照鏡子的效果(Mirror)

鏡射就像是...

The mirror is just like...


若要鏡射時是90度或180度,就是垂直或水平的狀態,正交要開

指令列 MI -> Enter

選擇要鏡射的物件

選擇完畢後 Enter

先選一個點後 單擊滑鼠 左鍵

再到另一個點 單擊滑鼠 左鍵

Enter

完成!!

其他呼叫鏡射指令的方式 
修改 ->  單擊滑鼠 左鍵

鏡射 ->  單擊滑鼠 左鍵

常用 -> 修改 -> 鏡射

2018/11/15

Autocad--文字不想要鏡射或文字鏡射的設定(Mirrtext)

MIRRTEXT

0 維持文字方向
1 鏡射文字

0 Retains text direction
1 Mirrors the text
預設值是0 無法鏡射文字的,所以直接下鏡射指令吧~
The default setting is 0. It doesn't mirror the text, so let's try it~

在指令列輸入 MI -> Enter

在紅色點的地方 單擊滑鼠左鍵

在紅色點的地方 單擊滑鼠左鍵

 Enter

在紅色點的地方 單擊滑鼠左鍵

在紅色點的地方 單擊滑鼠左鍵

Enter

看到了嗎?文字被鏡射後沒有變化
完成!!

在指令列輸入 Mirrtext -> Enter

1 -> Enter

重複剛才的動作 選取要鏡射的文字

1. 單擊滑鼠左鍵
2. 單擊滑鼠左鍵

文字原本是反的,鏡射後變成正的
完成!!

2018/11/14

心情--關於這個部落格

其實我當初在開始寫這個部落格的用意是為了想把一些過去的經驗(不管對或錯),分享給大家畢竟現在都是網路的時代,而我很多問題也是在網路上看到許多大神給我們解惑或是教導,從中不斷的嘗試錯誤,我希望可以在我的能力範圍做些回饋。

然而我總是懶懶的,過去給自己訂的目標是"平均"一個月要有一篇文章,如果有人發現我最近文章po的很勤,那就表示我失業了,正確來說是我辭職了。我畫圖畫了好些年了,可能有些倦怠也許也是工作的量就這麼多隨著時間的上手然後就越多的時間是呈現望著窗外想著為什麼我在這裡,所以我就出來了,但我還是很感謝公司給我的養份讓我不斷的茁壯只可惜沒能走到最後。

回到我當初寫這裡文章的初心,希望若有什麼關於此部落格有意見或想法的歡迎在底下留言囉~

I started writing this blog in order to share some experiences (whether right or wrong). I have lots of problems to solve and learn on the Internet. I hope to do something feedback in my ability.

However, I am always lazy. The goal I have set for myself in the past is to have an article a month.
If someone finds that I post articles much more then before, it means that I am unemployed. In fact, I resigned. I have been drawing for a few years. It may be a little tired. But I am still very grateful to the company to giving me the opportunity.

Back to the initial about the articles I wrote, I hope that if there is any comment or idea about this blog, please leave a message below, thanks.

2018/11/13

Autocad--存檔版本設定、修改圖檔格式,當對方跟你說無法開啟高版本檔案(Autocad version & file format setting)

存檔案的版本設定分成二種狀況:
A.預設每一次的存檔類型及版本
B.就單次存檔的檔案類型及版本修改

There are two situations in saving file with version and file format.
A.Default setting(for each time while you save).
B.Just once.

A.
指令列 OP -> Enter

開啟與存檔 單擊滑鼠左鍵

選擇所要設定的檔案版本及格式
單擊滑鼠左鍵


確定 單擊滑鼠左鍵

1.A       單擊滑鼠左鍵
2.儲存 單擊滑鼠左鍵

此時,紅色方框出現的就是剛才設定的
完成!!
 B.
若是要單次修改的話
在紅色方框處 單擊滑鼠左鍵
選擇要儲存的版本及類型後,按下儲存
完成!!


以下是其他可以進入設定的畫面方式
Here are other ways to enter setting screen.
1.
工具 -> 單擊滑鼠左鍵

選項 -> 單擊滑鼠左鍵

2.
檢視 -> 單擊滑鼠左鍵
紅色方框 -> 單擊滑鼠左鍵

開啟與儲存 -> 單擊滑鼠左鍵

設定畫面

2018/11/12

AUTOCAD相關大全 (AUTOCAD IN THIS BLOGGER)


必備功能
                            (Missing Menus and ToolBars)

基本功能
    設定
       檔案
        1.Autocad--存檔版本設定、修改圖檔格式,當對方跟你說無法開啟高版本檔案
          (Autocad version & file format setting)
       顏色
       鼠標
       鎖點
       標註
         1.Autocad-標註尺寸形式設定(Dimstyle Setting) 
       圖層
       單位
       工作區
   功能
       選取
       縮放
       繪圖
         8.Autocad--偏移複製( Offset & copy)
       出圖

進階功能
    設定
    繪圖
          (Default keyboard shortcut to draw in Autocad)
          (Define the attributes of the blocks, same block but the content can be changed, ATTDEF)
          ( Dynamic BLOCKS, blocks can be changed in size and proportion, etc.)
     出圖

小技巧
     選取
         1.Autocad--剛剛選了一堆東西後不小心取消,崩潰了嗎?
            按下"P"鍵後就可以選取剛才的選集(Select Previous)
     繪圖
         1.Autocad--小技巧.快速切換修剪和延伸線段
           (Tips.How to change Trim and Extend by SHIFT)
         2.Autocad--增強屬性編輯器顏色修改(Modify BATTMAN)
         3.Autocad--鎖點小技巧(Osnap Tip)
         4.Autocad--刪除重疊的線段,移除重複的物件(Delete Duplicate Objects) 
    縮放
         1.Autocad--單軸縮放及特定方向的縮放(Zoom only the one axis in Autocad)
     設定
         1.Autocad--開啟後就是繪圖畫面,跳過"「開始」頁籤"的設定
           (Startup Setting in Autocad)
         2.Autocad--應用程式開啟多個圖檔設定(SDI Setting)
         3.Autocad--清爽螢幕,將繪圖區畫面放到最大,隱藏繪圖工具都不見了(Clean Screen)

AUTOLISP
         1.Autocad--載入Autolisp(Load Autolisp)Autocad
         2.Autocad--Autolisp程式教學(一)-Hello Word!
         3.Autocad--將複製的數字加一(AutoLisp下載)-Autolisp Download
         4.Autocad--尺寸標註公釐轉換到英吋並指定區間(AutoLisp下載)-Autolisp Download
      
問題解決
    繪圖
    檔案
         (Free software to open up Autocad and covert Autocad to different version)
         (Open Autocad with some problems )
    設定
    出圖
          (Remove AUTODESK EDUCATION Design Feed)
        4.Autocad--線粗出圖時與設定或畫面上不一樣,印不出線條粗細問題
        (Print Lineweight problem)
     選取