


2019/6/23
Autocad--線粗設定完畢後,畫面上的線粗都沒有改變,看不出線粗(Display Lineweight)
設定完線粗發現螢幕上根本沒有任何變化,因為預設的顯示線粗是關閉的,那就打開它吧!
Set the line weight and then there is nothing changed on screen. Because the Default setting on display line weight is closed. Let's open it up!


Set the line weight and then there is nothing changed on screen. Because the Default setting on display line weight is closed. Let's open it up!

在紅色框處 單擊滑鼠 左鍵

線粗 -> 單擊滑鼠 左鍵

此時 紅色框線處就會出現了
單擊滑鼠 左鍵

完成!
或是另一種改變設定的方式是

在指令列 LWDISPLAY -> ENTER

1 -> ENTER
(關閉當然是按下 0 )

完成!
2019/6/15
Autocad--設定線粗,線段的粗細寬窄(LINEWEIGHT SETTING)

選取要修改的線

單擊滑鼠 右鍵 -> 性質 單擊滑鼠 左鍵

在紅色框處 單擊滑鼠 左鍵

選好要的線粗 單擊滑鼠 左鍵
完成!

當然也有另一個地方可以設定線粗
常用 -> 性質 -> 線粗

選好要的線粗 單擊滑鼠 左鍵
完成!
預設的線粗是 ByLayer 那就來看一下圖層的線粗究竟有多粗


在圖層性質 單擊滑鼠 左鍵

發現線粗是 預設
來就來看一下預設的線粗吧!

指令列裡輸入 OP -> ENTER

使用者偏好 -> 線粗設定 單擊滑鼠 左鍵

此時就可以看到預設的線粗是 0.25mm
可以在這裡修改
選 套用並關閉 就可以了
改完線粗發現螢幕上的線並沒有改變線粗
只是顯示設定的關係 重複剛才的步驟來到這個畫面

顯示線粗 單擊滑鼠 左鍵
套用並關閉 單擊滑鼠 左鍵

確定 單擊滑鼠 左鍵

此時就可以看見線粗
2019/4/7
Autocad--模型和配置,將所有圖面都轉成一個PDF檔(Model and Layout, convert all the drawings to PDF in a file in Autocad)
模型與配置就像風景與相機, 可以先在模型裡將所有要呈現的東西都先繪圖進去,之後在用配置將所要呈現的內容及畫面都用配置設定好,就可以輸出一張張的圖紙(照片)。
先用一個簡易的範例說明,假設我想在三張圖紙(照片)分別呈現1 2 3 如下

那麼我們就先在模型裡畫出123,然後在配置分別對不同位置進行拍照(調整畫面的遠近及位置)
然後進行發佈就是將照片洗出來,完成。
MODEL and LAYOUT are just like view and camera. Image all of things you want to show are drawn in the MODEL and then use the LAYOUT to setting the view and content you would like to show. We will get the series of drawings(pictures).
Just take an easy example. I would like to show 1 2 3 in each drawing(picture) as below:
First we write 1 2 3 in MODEL. Second we adjust the position in different LAYOUT(zoom and pan).
Finally PUBLISH is to have those pictures.




先用一個簡易的範例說明,假設我想在三張圖紙(照片)分別呈現1 2 3 如下

那麼我們就先在模型裡畫出123,然後在配置分別對不同位置進行拍照(調整畫面的遠近及位置)
然後進行發佈就是將照片洗出來,完成。
MODEL and LAYOUT are just like view and camera. Image all of things you want to show are drawn in the MODEL and then use the LAYOUT to setting the view and content you would like to show. We will get the series of drawings(pictures).
Just take an easy example. I would like to show 1 2 3 in each drawing(picture) as below:
First we write 1 2 3 in MODEL. Second we adjust the position in different LAYOUT(zoom and pan).
Finally PUBLISH is to have those pictures.

在指令列 t -> ENTER

在紅點處 單擊滑鼠 左鍵

移動滑鼠

在紅點處 單擊滑鼠 左鍵


輸入要打的文字 1 -> ENTER

在 1. 處 單擊滑鼠 左鍵
在 2. 處 單擊滑鼠 左鍵
在 3. 處 單擊滑鼠 左鍵

之後就跟剛才的動作一樣
在紅點處 單擊滑鼠 左鍵

在紅點處 單擊滑鼠 左鍵
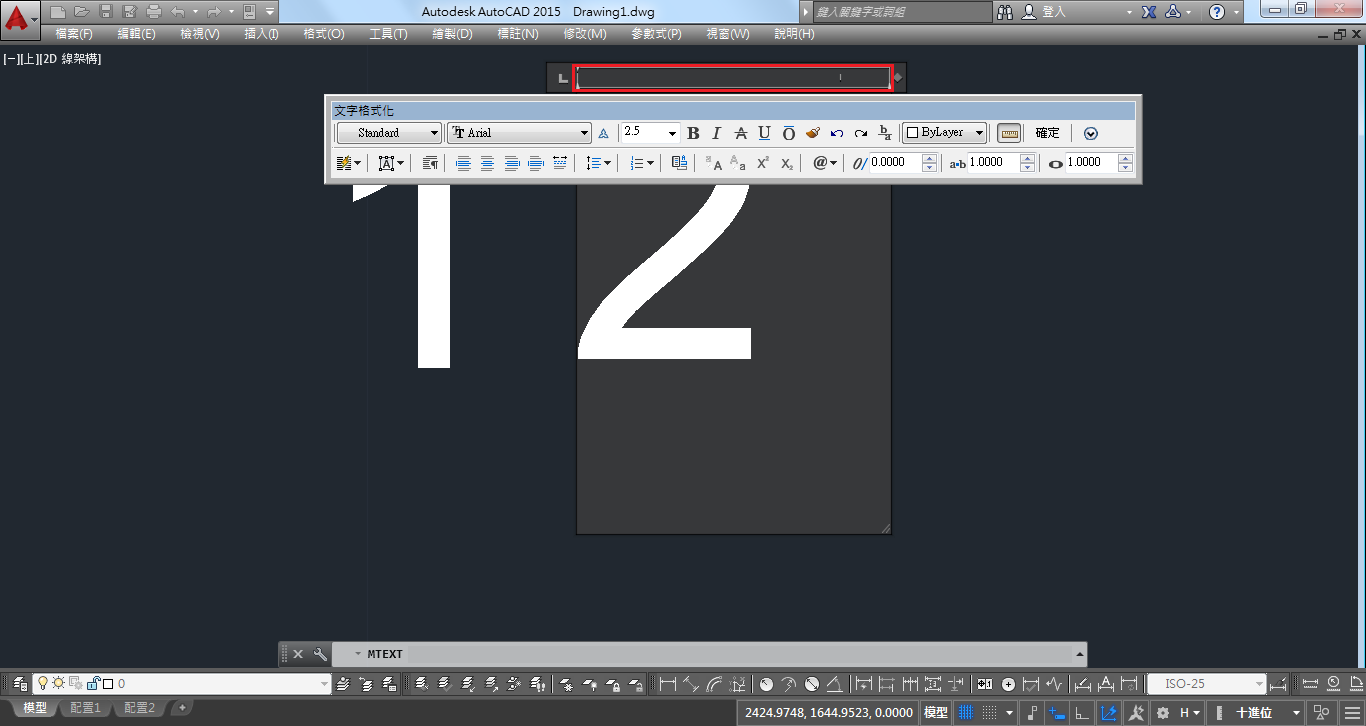
輸入要打的文字 2 -> ENTER

單擊滑鼠 左鍵


輸入要打的文字 3 -> ENTER

此時要畫的內容都已繪入了
接下來就是要進行"拍照"

單擊滑鼠 左鍵

在紅色框內 雙擊滑鼠 左鍵

用滑鼠滾輪 按住 移動畫面
用滑鼠滾輪 前後滾動 縮放畫面

調整完畫面後
在剛才的 紅色框 外面 雙擊滑鼠 左鍵
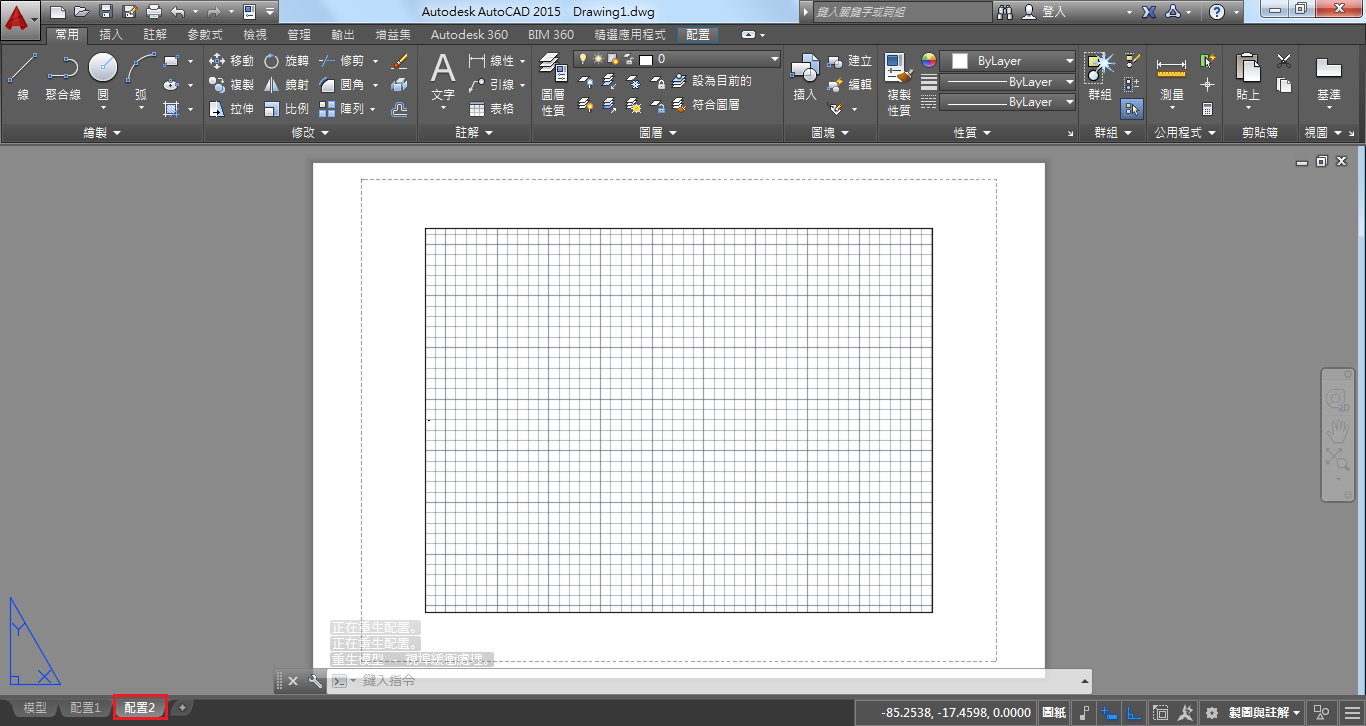
單擊滑鼠 右鍵

單擊滑鼠 左鍵

在 1. 處 單擊滑鼠 左鍵
在 2. 處 單擊滑鼠 左鍵

雙擊滑鼠 左鍵

修改成想要的名字後

ENTER

重複剛才 利用 滑鼠滾輪 按住及前後滾動 移動畫面


在 1. 處 單擊滑鼠 左鍵
在 2. 處 單擊滑鼠 左鍵

單擊滑鼠 右鍵

移除 -> 單擊滑鼠 左鍵

單擊滑鼠 左鍵

選擇要輸出的格式 PDF

發佈 -> 單擊滑鼠 左鍵

在 1. 處 單擊滑鼠 左鍵
選擇要儲存的位置後
在 2. 處 單擊滑鼠 左鍵

單擊滑鼠 左鍵

單擊滑鼠 左鍵
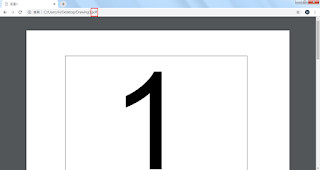
之後到剛才儲存的檔案位置後開啟就完成!!如下


訂閱:
文章 (Atom)